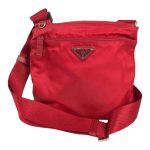
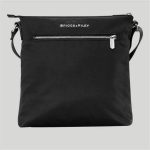
Creating a DIY crossbody bag allows you to express your creativity. Personalized accessories always stand out. In this guide, you will learn to make a stylish and functional bag. Let’s dive into the world of DIY fashion.
Materials Needed for Your DIY Crossbody Bag
Gathering Materials
The first step in creating your DIY crossbody bag involves gathering all necessary materials. Start with fabric, thread, and a sewing machine. Next, grab a pair of scissors and a strap. Choose durable fabrics like cotton or canvas to ensure your bag lasts. You might even look for old shirts or jeans to add a unique flair. These materials not only provide a sturdy base but also allow for creative expression. Preparing everything beforehand will make the crafting experience smooth and enjoyable. It saves you time and avoids frustration later.
Assembling Your Bag
After gathering your materials, begin assembling your crossbody bag. Cut the fabric into your desired shape and size according to your design. Use the scissors carefully to achieve clean edges. Next, sew the pieces together using the sewing machine. Double-check your stitches to enhance durability. Once the main body is complete, attach the strap securely. If you repurpose an old belt, ensure it fits comfortably. This attention to detail makes a big difference in the final product. Finally, consider adding pockets or embellishments to personalize your bag. These small touches will make your creation stand out. Enjoy the process and take pride in your handmade accessory!
Designing Your DIY Crossbody Bag
Designing Your Crossbody Bag
First, think carefully about the size of your DIY crossbody bag. A medium-sized bag often meets daily needs effectively. You want a bag that holds your essentials without being bulky. Also, consider how many pockets you need for organization. If you frequently carry items like your phone or wallet, add companion pockets for quick access.
This addition helps keep your belongings in order. Next, draw your design on paper to visualize your bag. Incorporate details like pocket placement and overall shape into the drawing. Take your time when planning this step to avoid mistakes later. Remember to include seam allowances in your measurements, as this will affect your construction. A well-thought-out design sets the foundation for a successful project.
Functionality and Features
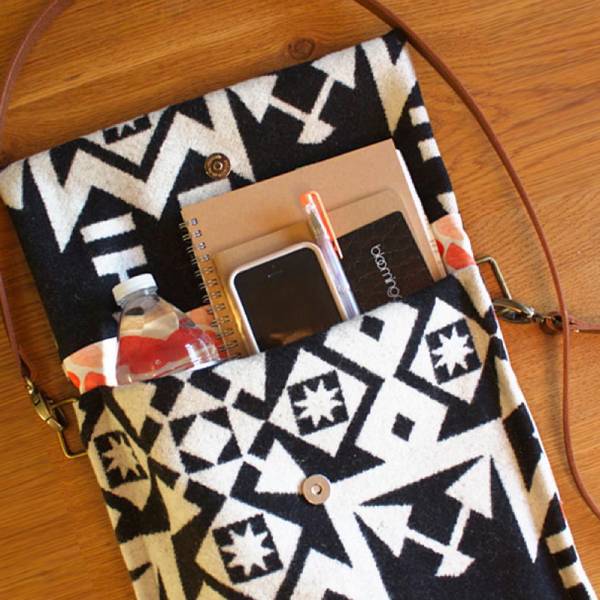
Once you finalize your basic design, focus on incorporating practical features. Consider using zippers or magnetic closures for added security. Both options keep your items safe while providing easy access whenever you need them. You can choose a design that integrates these closures seamlessly. Moreover, think about how the overall shape enhances functionality. A tapered top might help in keeping smaller items secure. However, a wider opening can offer easier access to larger items.
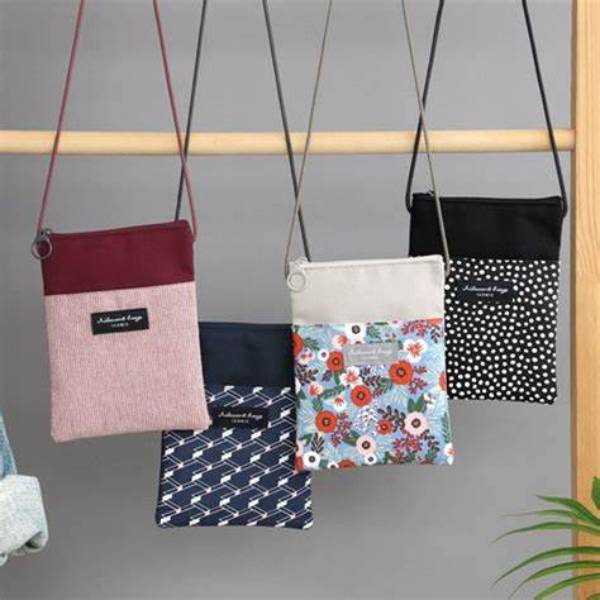
Adding internal compartments can also improve usability. You can design separate spaces for your phone, keys, and wallet, for example. This organization makes everyday tasks more efficient. Lastly, keep your aesthetic in mind as you select materials and colors. The right combination can elevate your crossbody bag from functional to stylish. With thorough planning and attention to detail, you will create a bag that reflects your personality and meets your needs.
Cutting Fabric for Your DIY Crossbody Bag
Preparing Your Fabric
Once you decide on your design, focus on cutting the fabric for your DIY crossbody bag. Gather all your materials, including scissors and any extra tools you need. Carefully cut out two main body pieces, a back pocket, and any lining you want to include. Pay attention to the measurements, as accuracy ensures a better final product. If you want, label each piece to simplify the assembly process later. An organized approach saves time and reduces frustration during construction.
Assembling the Pieces
After cutting, examine your fabric pieces to ensure they fit together perfectly. Lay the various fabrics out to determine how they combine aesthetically. Check if the colors and patterns work harmoniously or if adjustments are needed. Pay attention to the seams and edges; their alignment matters for a polished look. If you notice any discrepancies, make adjustments before proceeding.
A well-prepared approach sets the stage for a successful sewing project. Once you feel satisfied with the arrangement, pin the pieces together for stability. This action prevents shifting when you begin to sew. Ultimately, a thoughtful planning phase leads to a well-crafted DIY crossbody bag. Enjoy the process and let your creativity shine as you assemble your unique design!
Sewing the Main Body of Your DIY Crossbody Bag
Preparing the Main Body
Now that you have gathered your materials, start by selecting the fabric for your DIY crossbody bag. Choose sturdy fabric, as it will provide durability and longevity. Next, place the two main body pieces with their right sides facing each other. This placement ensures that the finished side will be visible. Use pins to secure the fabric in position while you prepare to sew. Make sure the pins hold the pieces tightly to avoid any shifting. Begin sewing from the top edge and proceed around the bag’s perimeter.
Finishing the Bag
As you sew, remember to leave the top open for easy access to your belongings. Use a straight stitch and maintain a consistent seam allowance. This consistency not only enhances the bag’s appearance but also strengthens its structure. Take your time with this step to avoid mistakes that can compromise the bag’s integrity. After you finish sewing, carefully turn the bag inside out.
This motion brings forth the bag’s shape and allows you to see your work. Inspect the seams for any missed spots and ensure everything looks neat. Once satisfied, press the bag lightly with an iron to smooth out any wrinkles. Your crossbody bag will now be ready for use, combining both style and functionality. Enjoy the process, and don’t hesitate to make adjustments if needed. Your unique creation reflects your effort and attention to detail.
Adding Pockets and Details to Your DIY Crossbody Bag
With the main body ready, focus on adding pockets to your DIY crossbody bag. Attach the back pocket to one side of the bag. Use a straight stitch to secure it properly. Pockets add functionality and style to your creation. Consider embellishing your bag. You can add patches, embroidery, or even fabric paint. These details can give your bag a personal flair. This is your chance to make the bag truly yours, so get creative! Add pockets and embellishments to your DIY crossbody travel bags to make them functional and stylish, adding a personal flair.
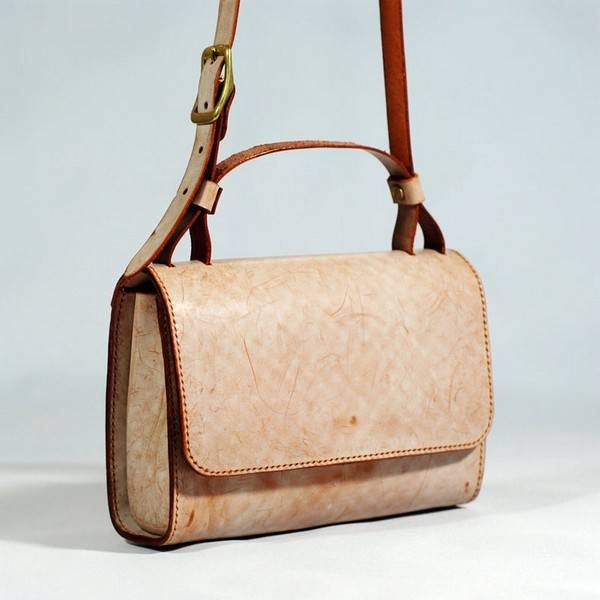
Attaching the Strap to Your DIY Crossbody Bag
Now that your DIY crossbody bag is taking shape, let’s attach the strap. Depending on your design, you may sew the strap directly to the bag or use rings. If you are using rings, attach them to both sides securely. Be sure to test the length of the strap. You want it to hang comfortably across your body. Adjust as needed before completing the final stitches. A well-attached strap enhances both comfort and durability. When making a men’s leather crossbody bag, ensure the strap is securely attached for comfort and durability.
Final Touches for Your DIY Crossbody Bag
You’ve nearly completed your DIY crossbody bag! At this stage, inspect your work to ensure everything is secure. Check stitches, pockets, and strap attachment for stability. Trim any excess threads for a clean finish. If desired, iron the bag to smooth out any creases. Consider adding a closure like a button or snap. This final touch enhances usability while giving a polished look. Get crafty and add a closure like a button or snap to your DIY belt bag for a polished look and enhanced usability.
Enjoying Your Custom DIY Crossbody Bag
Congratulations! You have crafted your very own DIY crossbody bag. Now you can showcase your unique style wherever you go. Use it for daily errands, shopping trips, or casual outings. Creating this bag not only allows for personal expression but also offers a practical accessory. Your friends will admire your DIY craftsmanship and might even ask for a custom bag too. Enjoy the satisfaction of wearing something you made by hand.
Creating a DIY crossbody bag is not just a fun project; it is an opportunity to assert your personal style. By following these steps, you can craft a bag that perfectly suits your needs. Happy crafting!